Display item details based on config
QR Flow lets you display selected item columns and even modify them, with changes reflected directly in monday! This guide will show you how to configure a custom form, controlling what data is accessible after scanning a QR code.
Video
The video below demonstrates how to configure a custom form and set up an automation to show selected columns and input data into monday:
Guide
Configuring a custom form consists of two steps:
- Create a new custom form by configuring input and output fields in the custom form board view.
- Create a custom form automation.
Custom form configuration
To create a new custom form follow the steps:
- Create a new QR Flow - custom form board view.
- Click New custom form.
- Specify a Label. Label is used to reference custom form in automations. You can have multiple custom forms in one board!
- Click Confirm.
- Click Add and select all the column you wish to display.
- Some columns have a “Turn into data input” button. Clicking this button enables an input field where users can enter data, which is then saved directly in monday upon submission.
- Once you’re done with configuration click Save view.
Supported column types
| Column type | Supported as input | Supported as output (display) |
|---|---|---|
| text | ✅ | ✅ |
| long text | ✅ | ✅ |
| number | ✅ | ✅ |
| status | ✅ | ✅ |
| people | ✅ | ✅ |
| date | ❌ | ✅ |
| file | ✅ | ✅ |
| mirror | ❌ | 🔶 (only mirrored file colums are supported) |
| other column types | ❌ | ❌ |
Please let us know if you need a support for more column types!
Creating custom form automation
Once custom form has been created it can be selected in the following advanced automation:
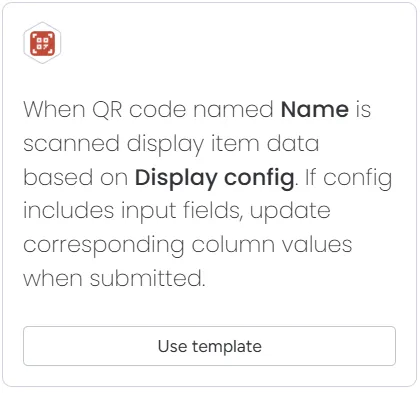
All you need to do is input a QR code name, select a created form and click create automation. Once QR code is scanned you’ll see the selected columns. If input columns are specified you’ll also see a submit button at the bottom of the screen.